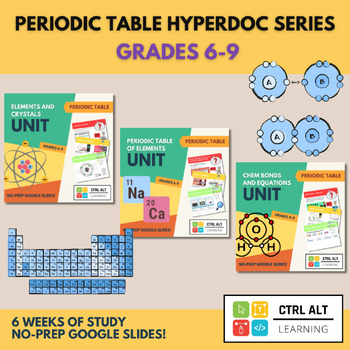
Before jumping into the Periodic Table, it helps to zoom in and remind students what matter is made of: atoms. Most students will have heard of protons, neutrons, and electrons, but this week gives them a solid visual foundation for understanding how the elements are organized.
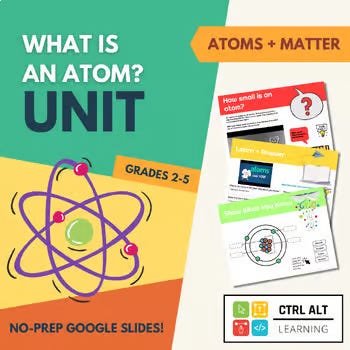
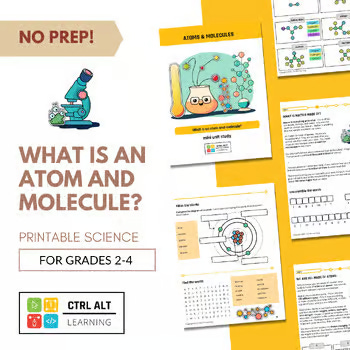
Grab this this interactive Google Slides mini-unit to guide students through atom basics: the structure of an atom, how elements differ, and why atomic number matters. If you prefer hands-on work, the printable version offers diagrams and cut-and-paste practice.
You can also dust off those scissors and have your students learn hands-on the scale of an atom and how incredibly small atoms are. This can be eye-opening, especially for tactile learners who need a concrete sense of what “tiny” really means.
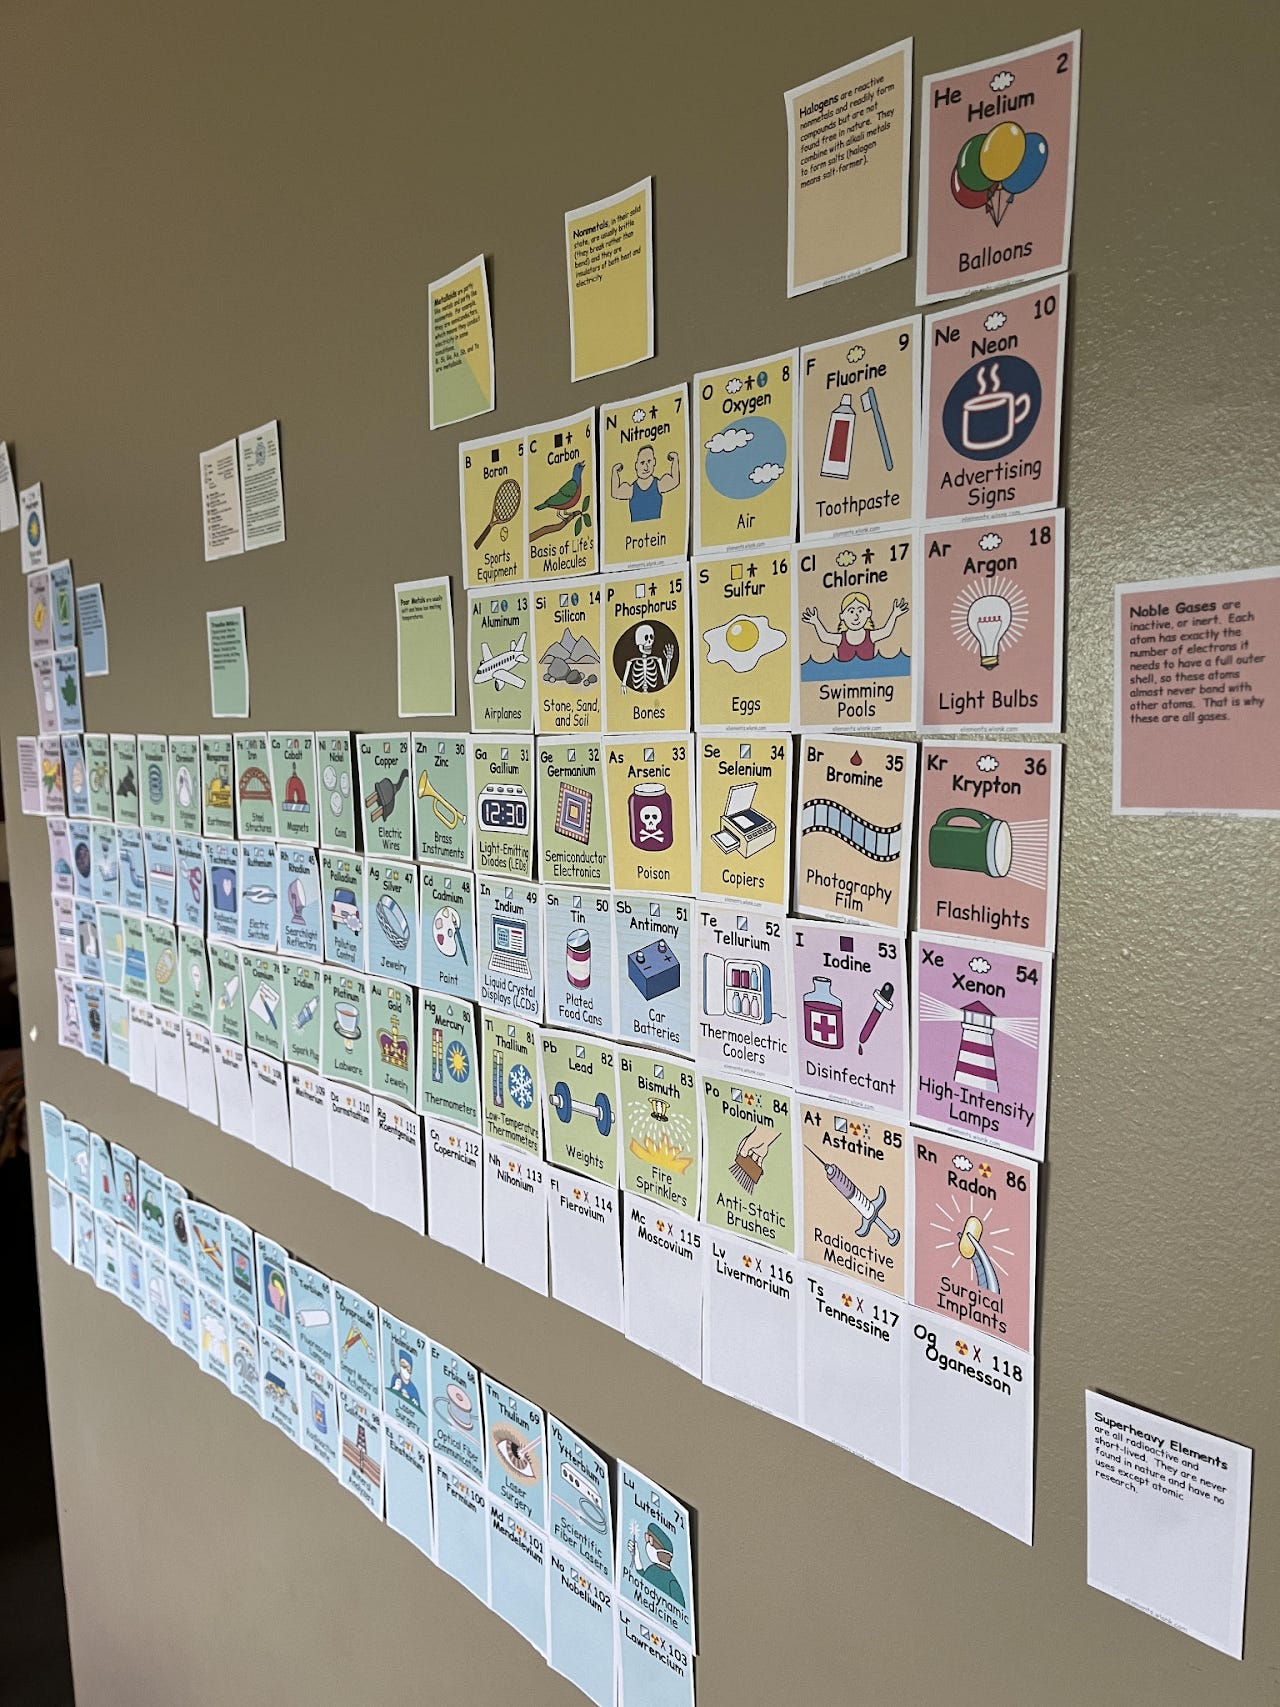
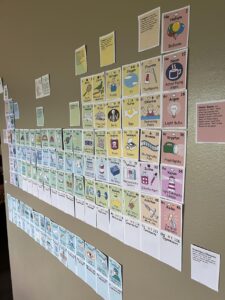 If you have room in your classroom, make use of it by displaying a jumbo collage of the periodic table of elements using these free printable picture cards for each element. Scroll down to look for “Element Cards” to download the zip file (you will need to download this on a computer, aka the big internet, to unzip the folder of files).
The effort of putting it together pays off big time. Students constantly returned to it with questions:
“What’s the most reactive element?”
“Why does this column have similar colors?”
“Why is hydrogen floating all alone?”
Color coding by group and showing visual patterns across periods made it easier for students to understand how the table is arranged, not randomly, but with deep logic.
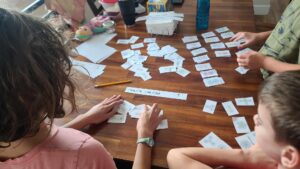
Download the free Periodic Aliens activity, which is a low-prep logic puzzle that introduces the concept of sorting by more than one feature. Students practice using symbols, shapes, and traits like Mendeleev did when organizing the elements. It’s a playful way to make abstract thinking more accessible.
At the end of the week, students choose one of the following projects to deepen their understanding. Giving students a choice in their final project increases ownership. Some will lean into the science, while others will lean into creativity. Both are valuable.
This week is all about seeing chemistry in action. Now you shift from the abstract to the observable, connecting atomic structure to real-world matter.
 Start with salt and sugar crystals under a microscope.
If you have access to a simple microscope or even a pocket magnifier, comparing salt and sugar is fascinating. Salt has cubic crystals, while sugar crystals are more irregular. Students love the surprise of seeing everyday items up close.
 Grow your own crystals.
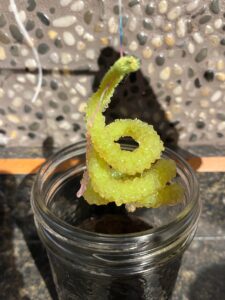 After seeing these crystals up close, it is time for them to grow some of their own. There are a few different options for this, including:
Borax crystal shapes using pipe cleaners
Rock candy (bonus: edible science!)
Crystal ornaments for an art-science crossover
These activities give students a physical example of how atoms and molecules arrange into patterns. They learn about solubility, supersaturated solutions, and evaporation. All while watching beautiful formations grow day by day. (Or in the case of the borax crystals – overnight!)
Tip: When making borax crystals, don’t let the string touch the pipe cleaner directly. It can cause the string and pipe cleaner to fuse, making it hard to remove the crystals cleanly.
 Scavenger hunt fun.
Have students make a Periodic Table scavenger hunt where they have to write riddles for other classmates to find on the Periodic Table of Elements. Some examples to get you started:
“I’m the lightest element, explosive with oxygen, and number one in line.”
(Answer: Hydrogen!)
This keeps them engaged with the wall display and helps reinforce element names and symbols.
 Invent your own periodic table!
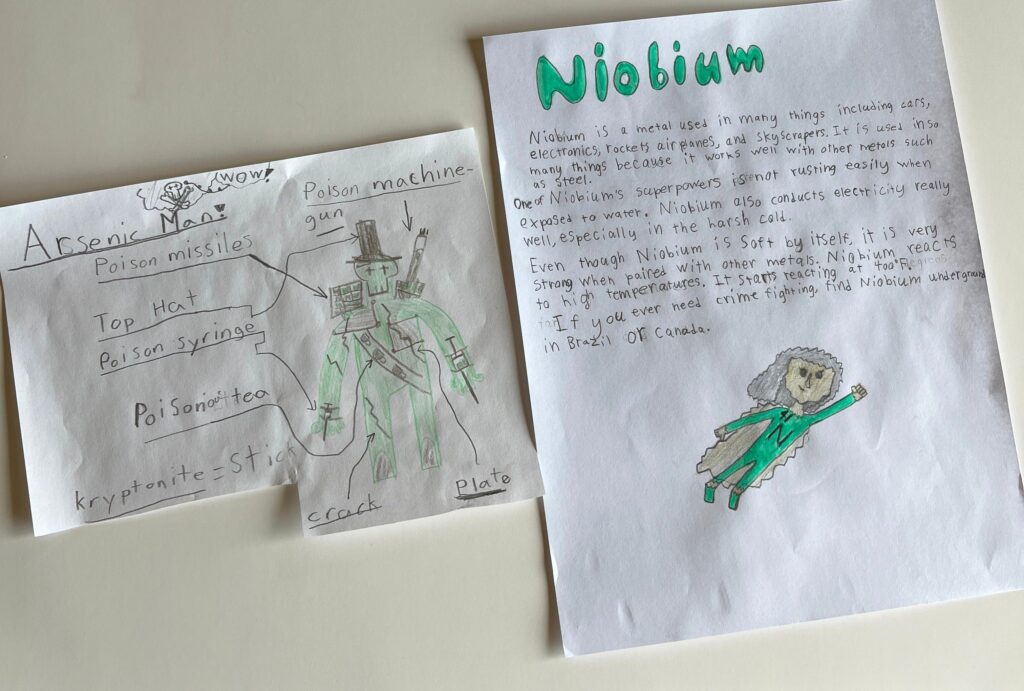
 Students pick a topic of personal interest: books, animals, snacks, video games, whatever. Then they design a Periodic Table version of it. The rule? It has to be sorted in two ways: groups and periods, just like the real thing.
This project is always a highlight. It challenges them to think critically, organize information, and explain their reasoning. You can grab a free template for this right here.
By now, students are familiar with element symbols and formulas. This week, we dive into chemical equations and how substances change and combine during reactions.
 Start slow, start visual.
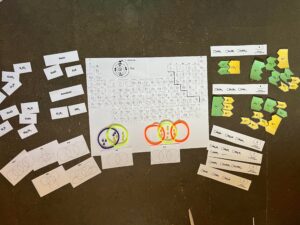
Balancing equations can feel intimidating, so we used manipulatives first. Students physically “build” molecules using paper shapes or blocks labeled with atoms. Then we count atoms on each side to balance the reaction.
This turns a scary math problem into a puzzle. Suddenly, it was fun and you can see all of the lightbulbs popping up around the room. It should make chemistry in high school feel less daunting when it comes to pencil and paper balancing, too!
 Use this Google Slides presentation to first explain to to students how balancing equations work and why. Some videos at the bottom of this blog post are also useful.
Students work in small groups to balance the equations using these manipulatives so they can see how things become balanced.
Homeschool tip: If completing this lesson with younger siblings present, assign one of them to be the “compound bank”. Their job is to hand out molecule pieces while others build and balance. It keeps everyone involved and adds a game-like element.
There are great interactive sites where students can drag and drop elements to balance equations digitally.
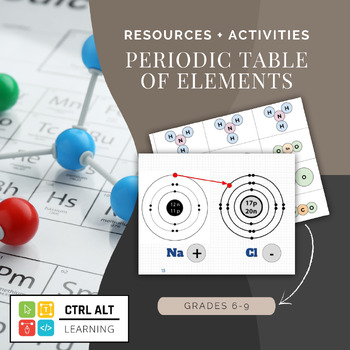
To wrap up your study, you will zoom back in on atoms. This time, focusing on the outermost electrons that determine how atoms bond.
Quickly review how electrons orbit in shells and how valence electrons differ across the Periodic Table. Students will build simple Bohr models using tokens, beads, or printable diagrams.
Ask students what patterns they are noticing as they build out a handful of elements across the table.
 Using this bonding Google Slides lesson, teach the difference between:
Ionic bonds
Covalent bonds
Metallic bonds
Then use these manipulatives to match bonding types to real-life examples.
Another favorite activity is when students use pipe cleaners and beads to build a variety of molecules- including water, salt, and methane. By using beads for the valence electrons, each model demonstrates how the elements share the valence electrons in order to bond together.
If students need further digital practice they can find some games here and here.